The Test Team helps manage testing and triage across the WordPress ecosystem. They focus on user testing of the editing experience and WordPress dashboard, replicating and documenting bug reports, and supporting a culture of review and triage across the project.
Please drop by any time in SlackSlackSlack is a Collaborative Group Chat Platform https://slack.com/. The WordPress community has its own Slack Channel at https://make.wordpress.org/chat/. with questions or to help out.
This call for testing returns us to some of the basics of using the blockBlockBlock is the abstract term used to describe units of markup that, composed together, form the content or layout of a webpage using the WordPress editor. The idea combines concepts of what in the past may have achieved with shortcodes, custom HTML, and embed discovery into a single consistent API and user experience. editor. While it can be fun and exciting to dig into the cutting edge items, it’s just as important to ensure the baseline experience continues to be excellent. This is especially true when full site editing as a concept brings the block paradigm to more parts of the site experience. To that end, the format of this test is going to take on a more open ended, scavenger hunt style experience. As you go through it, you’ll explore the following various features:
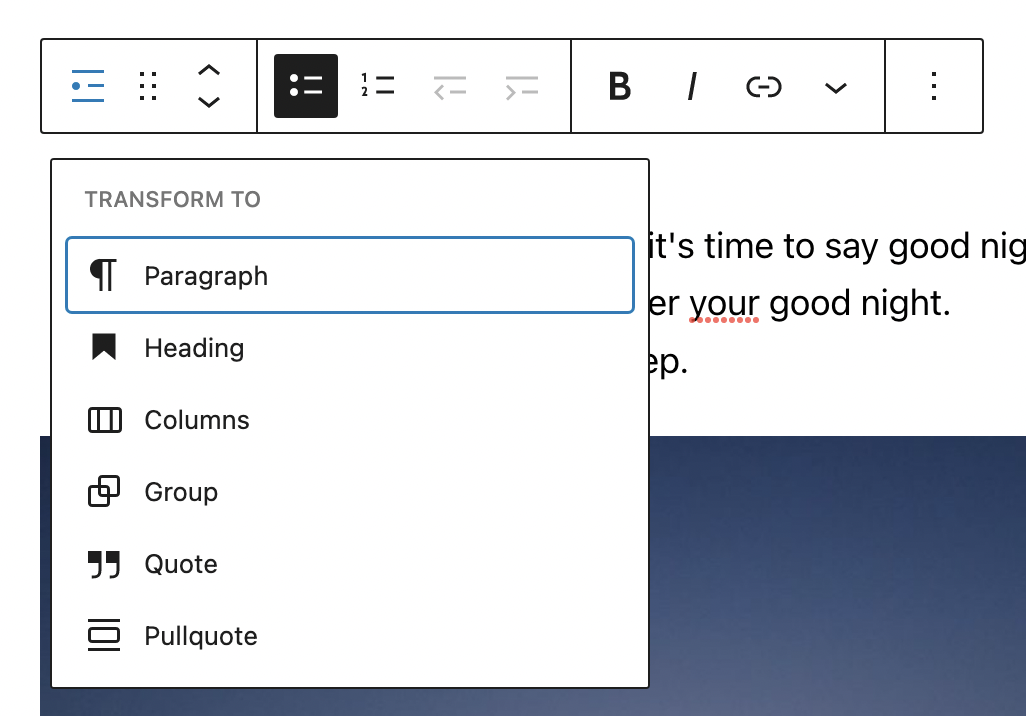
Transform menu
Each block offers various blocks you can transform to and from in order to quickly take the same content you currently have and switch it into a new block.
Select text across blocks
This feature was launched in WordPress 6.0 and works with any Rich Text block (Paragraph, Heading, List, and Quote). How can it be improved though? What rough edges can you find?
Drag and drop
Drag and drop is a classic part of the block editor experience, whether you’re writing a post or creating a template. As WordPress evolves with new blocks and new features, it’s important these original features continue to perform and remain reliable.
Various add block options
Adding blocks comes in a few forms: the inserter, slash inserter (/), quick inserter, sibling inserter, and the “insert before/after” options built into the additional menu of each block. Ensuring each appears and functions as expected is key to being able to create what you want with blocks.
The fields for post format, slug, template, and authors are aligned and have the same width. The template displays ‘default template’ instead of none, and the Permalink link opens a popover to edit the slug, when clicked. The result is a cleaner, more organized display that should help you more readily access all the important information about your post/page at a glance.
Using patterns
Patterns are increasingly important to the creation process and this test explores the basics of adding, moving, and customizing them.
And more!
This covers the high level items but you can expect to also use duotone, dimension controls, featured imageFeatured imageA featured image is the main image used on your blog archive page and is pulled when the post or page is shared on social media. The image can be used to display in widget areas on your site or in a summary list of posts. in a cover block, etc if you complete each smaller task.
Testing Instructions
Note on InstaWP
The folks behind InstaWP have granted the outreach program an account that we can use for these calls for testing. This means if you want to skip setting up your own test site and instead use a temporary one, you can do so. When you set up a site with InstaWP, no email addresses will be collected which means you’ll need to save the link to access the site again. Big thank you to the InstaWP team!
Install and activate the latest version of GutenbergGutenbergThe Gutenberg project is the new Editor Interface for WordPress. The editor improves the process and experience of creating new content, making writing rich content much simpler. It uses ‘blocks’ to add richness rather than shortcodes, custom HTML etc. https://wordpress.org/gutenberg/ by going to Plugins > Add New > Searching Gutenberg.
Head to Tools > Import and import this file to have access to the same posts as above. Select the “download” icon in the upper right corner to first download the file and proceed with downloading if you see a warning. Here are instructions for how to import content if you need more detailed steps.
Overview of content on the test site
Once your test site is in place, please perform the following tasks in one or more of the three posts available in whatever order you’d like! None of the posts have a featured image set and they are all intentionally set as drafts. You do not need to run through all of these and it’s intentional that the task is left open ended, where there might be multiple ways to accomplish the task at hand. While the list looks long, each task should be quick, needing typically just a few seconds of action so please run through as many as you can.
Align, move, and customize images
Place an image side by side in whatever way you see fit.
Select two images and move them to a different location in the post. Note: you might need to add an additional image first to do this.
Customize borders for an image including Color, Style, and Width.
Crop an image in the post editor.
Add a duotone filterFilterFilters are one of the two types of Hooks https://codex.wordpress.org/Plugin_API/Hooks. They provide a way for functions to modify data of other functions. They are the counterpart to Actions. Unlike Actions, filters are meant to work in an isolated manner, and should never have side effects such as affecting global variables and output..
Add a custom duotone filter of your choosing and then remove the filter altogether.
Transform an Image block to a Cover block and set the focus using the focal point picker.
Replace an image with a different one.
Drag and drop an image to a new part of the post.
Add an image from a URLURLA specific web address of a website or web page on the Internet, such as a website’s URL www.wordpress.org.
Add an image by dragging and dropping one into the Image block placeholder from your computer.
Add a link to an image.
Add alt text to an image.
Add, move, transform text blocks
Try using as many of the various inserters (slash aka /, quick inserter, and sibling) as possible.
Transform a text block to another block of your choosing. See how many transforms you can go through before getting stuck or confused.
Merge two paragraphs together.
Rearrange items in a list block.
Transform a list block to another block and transform it back to a list.
Select text across two paragraphs, cut the text, and paste it elsewhere in the post.
Transform a Text block to a Heading block and customize it by adding margins, changing the letter case, etc.
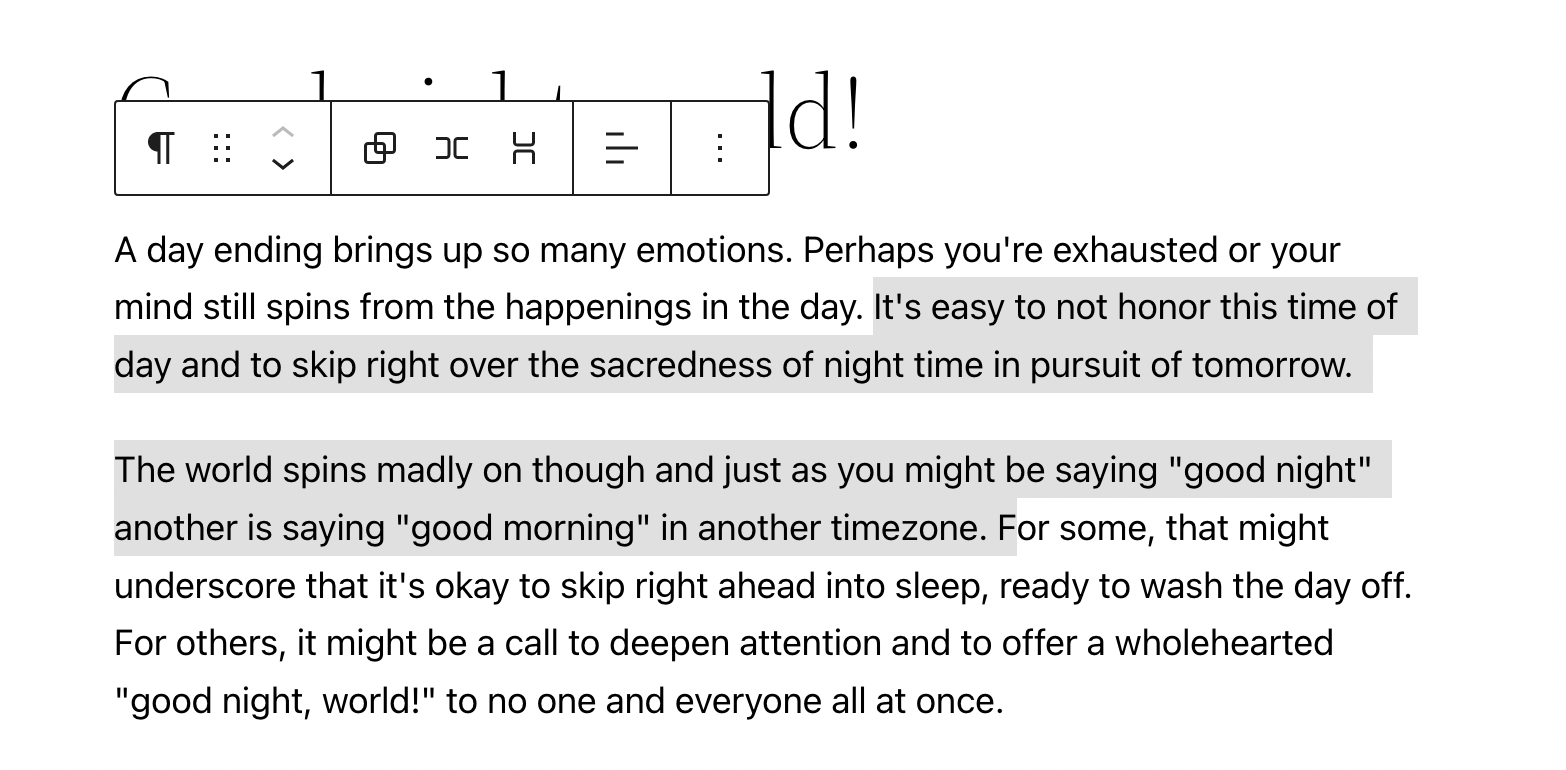
Select text between two paragraphs and see what happens if you try to change it to a Group block (row/group/stack). Here’s a screenshot.
Add a heading or list to a quote block. Try transforming those same blocks from within the quote block.
Make each paragraph a different font size. Note: this might mean adding your own custom size.
Copy and paste text from another website/post/document of your choosing into your post.
Insert and reorder patterns
Add a few patterns from the inserter in quick succession. Reorder them in whatever way you’d like after adding multiple patterns.
Remove the entirety of a pattern after adding it.
Drag and drop a pattern from the inserter in between two blocks or patterns in the post.
Adjust the document settings
Change the template that the post is using.
Copy the URL of the post as if you were going to share it with someone.
Schedule an update to the post for sometime tomorrow before changing your mind and publishing the updates now.
Add a featured image.
Add a cover block and set it to use the featured image.
What to notice:
Did the experience crash at any point?
Did the saving experience work properly?
What did you find particularly confusing or frustrating about the experience?
What did you especially enjoy or appreciate about the experience?
What would have made this experience easier?
Did you find that what you created matched what you saw on your site?

You must be logged in to post a comment.